
Setting up a bucket for offsite backups with BinaryLane requires an existing Amazon S3 account. If you don't yet have an Amazon S3 account you can sign up here.
| Backups from BinaryLane are compressed using zstandard. For decompression methods and general use of zstandard, please refer to the official zstandard GitHub repo: https://github.com/facebook/zstd The backups are a byte-for-byte copy of the drive (Windows) or ext3 partition (Linux). After decompressing backups, you must use software such as OSFMount for Windows drives as well as Ext2Fsd for Linux partitions. |
TABLE OF CONTENTS
Configure your offsite backups (AWS / S3 Setup)
To allow BinaryLane to upload a copies of your backup to your S3 account, we require a new bucket with a bucket policy applied. To set this up please take the following actions:
- Log into the AWS S3 management console.
- Ensure that you're in the region ap-southeast-2 (Asia Pacific (Sydney)):

- Click on the "Create Bucket" button:

- Enter a globally unique bucket name:

- Skip the other options, scroll down, and select "Create Bucket":

- In the bucket list, click on your new S3 bucket's name:

Select 'Permissions', then scroll down to the `Bucket Policy` section:

Select the "Edit" button:

Enter the following bucket policy configuration template into the policy editor (Note: You will need to replace the [[bucketname]] parts with your actual S3 bucket name):
{
  "Version": "2012-10-17",
  "Id": "backuppolicy.binarylane.com.au",
  "Statement": [
    {
      "Sid": "AllowBackups",
      "Effect": "Allow",
      "Principal": {
        "CanonicalUser": "a56b711c5acdeb80d7f113fe028cb65ab9eff594de5a8b87741413cd18363017"
      },
      "Action": [
        "s3:PutObject",
        "s3:DeleteObject"
      ],
      "Resource": "arn:aws:s3:::[[bucketname]]/*"
    },
    {
      "Sid": "AllowListing",
      "Effect": "Allow",
      "Principal": {
        "CanonicalUser": "a56b711c5acdeb80d7f113fe028cb65ab9eff594de5a8b87741413cd18363017"
      },
      "Action": "s3:ListBucket",
      "Resource": "arn:aws:s3:::[[bucketname]]"
    }
  ]
}
Since we're using the bucket name `backup-bucket.example.com`, here is what this should look like:
- Once you've done detailing and editing the bucket policy, select "Save Changes":

- Once you've set up your new bucket, head to the mPanel and navigate to your server's "Snapshots, Backups & ISO Management" page:
Choose mPanel view:
Log into your BinaryLane account and navigate to your server from your services list: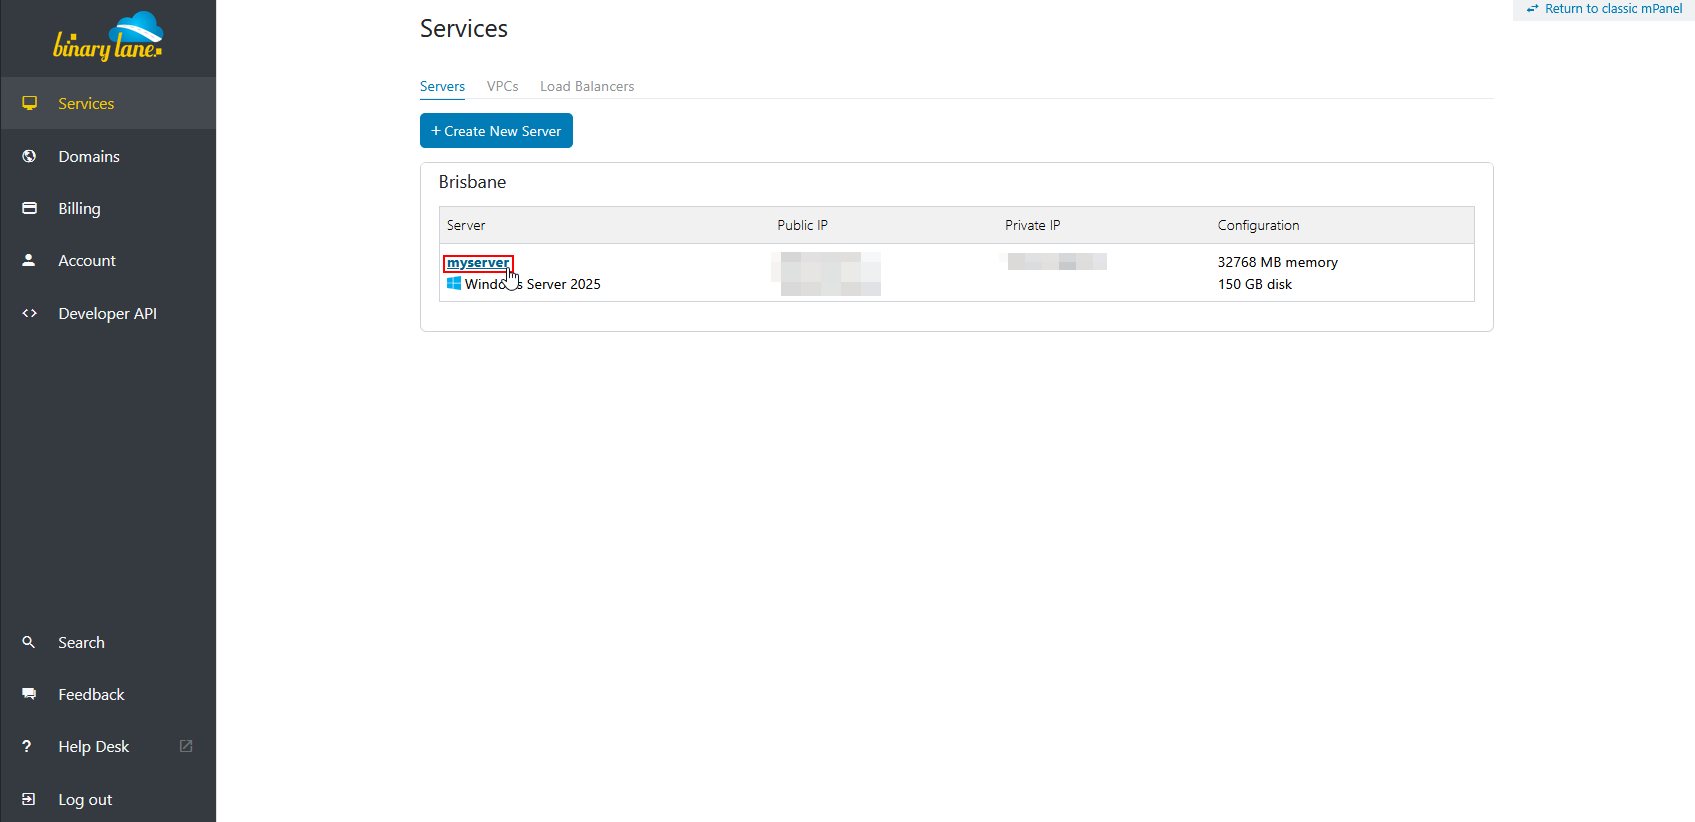
Select the 'Backup' tab, go to the 'Schedule' sub-section, enable 'Use my own S3 bucket', enter the bucket name of your S3 bucket within the 'Amazon S3 bucket' field, (if desired) enable `Off-site Expiration`, then click `Save Settings` to finalise the changes: Log into your BinaryLane account and navigate to your server from your services list:
Select the settings icon (⚙️) next to your server's name, then select the ` - ` option:
Select the 'Settings' tab:
Enable the 'Off-site Backups' option, and enter the bucket name of your S3 bucket within the 'Amazon S3 bucket' field:
Click 'Save Settings' to finalise the changes.
AWS bucket settings can take some time to have an effect. BinaryLane will send you an email in a couple of hours if it still can't access your bucket.
Accessing the files in your backup
To use Windows to access the files from within your backup, you will first need to download the following free tools:
For Linux-based backups, you'll need to use 7-Zip (v24.07 or higher) to access the files in the backup.
There's no need to decompress your Linux-based backup using 'zstd.exe' if using 7-Zip as support for *.zstd archives was introduced in 7-Zip v24.01.
- Open 7-Zip on your device:

- Navigate to your backup file within the 7-Zip File Manager, and double-click on your backup file to open the ZSTD archive, then double-click the file within this archive to begin decompression:

- After decompression, you can open any of the visible *.img files to see their contents (typically, your data will be stored in `0.img` as this was your `SYSTEM` drive:

For Windows-based backups (if not using 7-Zip):
1. Create a backup folder
Create a folder on your system where you will work with the backup.
2. Download your backup from S3
Log into the AWS S3 management
console and locate the backup you wish to download from your bucket. Right-click on the backup and select "Download". Follow the instructions to download the backup.
3. Move or copy your backup and zstandard into the backup
folder you created
To make the next steps easier, it is best to have zstd extracted (all content) and the downloaded backup saved in the backup folder you created:

4. Open a PowerShell window in your backup
folder
You can open a PowerShell window by right-clicking while holding down the Shift key, in an empty space within the folder, and selecting "Open PowerShell window here" (make sure no files are highlighted):
5. Extract the backup
Type ".\zstd.exe -d .\<backupfilename>" without the quotes and press Enter. Ensure you replace the <backupfilename> with the name of your backup file.
Hint: Pressing the Tab key while typing your backup file
name will try and guess the filename for you. If it gets it wrong,
just keep pressing Tab until it gets it right.
When the extraction is complete, close the command window or type "exit" and press Enter.
7. Install OSFMount
Download and launch the OSFMount installer. You shouldn't need to change any options.

8. Run the OSFMount tool
If you unselected 'Launch OSFMount', Find it in your start menu and run it. You should get the following screen:
Click "Mount new..."
9. Select the decompressed backup file
Click on the "..." next to the image file text box. In the file browser shown, find your decompressed backup which should be inside the "restored" folder.

10. Select a partition, or mount the entire image as a virtual disk
Highlight the "Partition" you'd like to mount and click "OK", alternatively, you can mount the entire image as a virtual disk:

11. Choose a drive letter
Leave the default options, then click "Mount":

12. Your backup is now mounted. Double-click on the
drive to open it in Explorer.
Ensure your backup is showing up in the list. You can double-click on the drive letter to open an Explorer window and access your files.

If you require assistance, feel free to submit a support ticket at our helpdesk here: Submit a ticket | BinaryLane